ATOS 5
High-end 3D scanner for fast part measurement
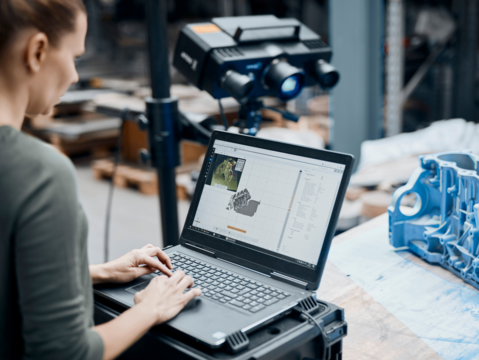
'Precision through innovation' - this is how ATOS 5 from Carl Zeiss GOM Metrology is described. The scanner delivers data in high accuracy in a very short time, even in harsh conditions.
ATOS 5 is developed focusing on high-speed scanning, fast data processing, higher resolution, and more details.
More light and faster cameras result in short exposure times on all surfaces. With 0.2 seconds per scan, ATOS 5 is an extremely fast 3D scanner with high accuracy.
The right combination of hardware and software ensures that 3D metrology can be integrated safely into the production. The industrial housing of ATOS 5 protects electronics against dust and water splashes. Data is transferred fast and interference-free due to fiber optical cables and intelligent communication, resulting in a completely self-monitoring system.
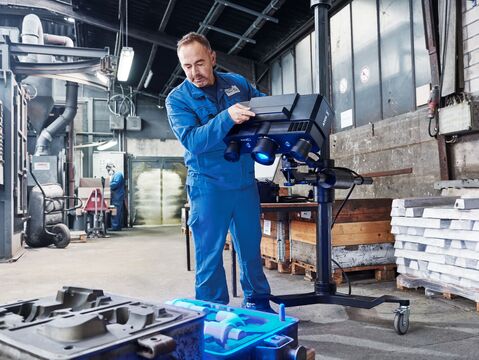
ATOS 5 can be used in both manual and automated setup, which makes it suitable for several measuring tasks: inspection of sheet metal, tools and molds, turbine blades, prototypes, and injection molded parts.
With its powerful light source, ATOS 5 delivers data in the highest quality, resulting in sharp details on 3D models, e.g. small radii or hemmed edges.
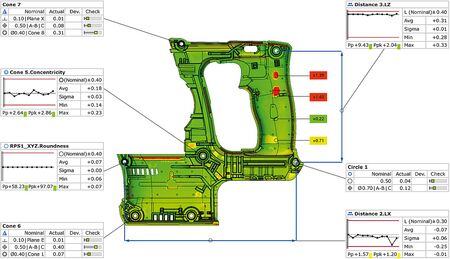
An ATOS metrology system is a complete solution, consisting of hardware and corresponding parametric, traceable software for dimensioning and analysis. The stable software controls the ATOS scanner, produces accurate 3D surface data, and gives access to extensive inspection and reporting tools.
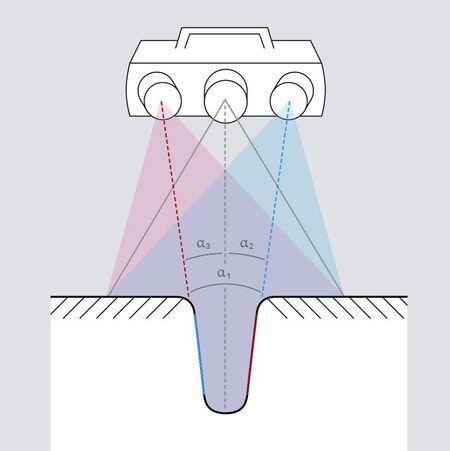
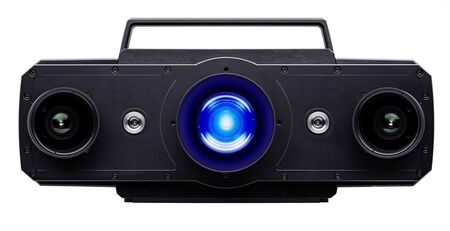
During scanning, a precise pattern of stripes is projected (fringe projection) on to the part's surface, and is detected by two cameras, calibrated in a stereo camera setup. Surface data is collected, where the camera rays intersect.
In this process, the projector in the middle is passive and only contributes by projecting stripes. By using Triple Scan Technology, the projector is used as a calibrated unit in the measurement. In this way it is possible to capture data by combining one camera with the projector unit.
The scanner thus collects data in the following ray intersections:
- Left camera / Right camera
- Left camera / Projector
- Right camera / Projector
Hence, the word Triple Scan Technology refers to the fact that three different methods are used for capturing data during the scanning process. As both cameras and projector are calibrated, all three elements are used to calculate the coordinates.
It is an advantage to use the Triple Scan Technology when scanning shiny parts, holes and complex geometries.
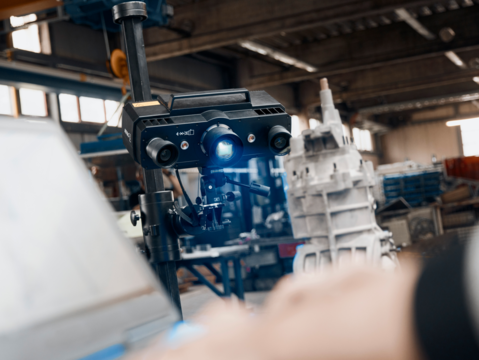
The projection unit in the ATOS scanner is based on Blue Light Technology, which means that the scanner projects light from a narrow-band blue frequency. Hereby, ambient light is filtered out during the scanning process and does not interfere during the measurement. The strong Blue Light source thereby result in an effecient and fast measurement.
Moreover, ATOS 5 has an extra powerful LED light source, which is 1.5 times more powerful than other ATOS models. This results in high-speed scanning in 0.2 seconds per scan.
| ATOS 5 | ||
|---|---|---|
| Measuring volume | MV170 - MV1000 | |
| Camera pixels | 8M, 12M | |
| Point spacing | 0.05 mm - 0.29 mm | |
| Setup | Manual, Automated | |
| Light source | LED | |
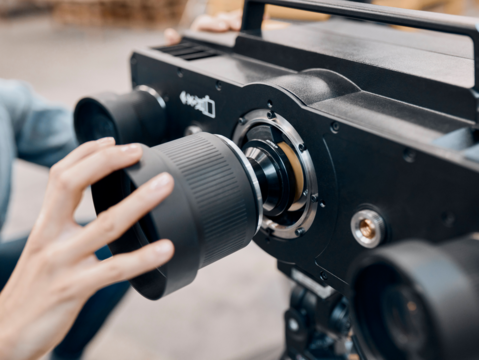
| Changeable lenses | Yes | |
| Blue Light Technology | Yes | |
| Triple Scan Technology | Yes |
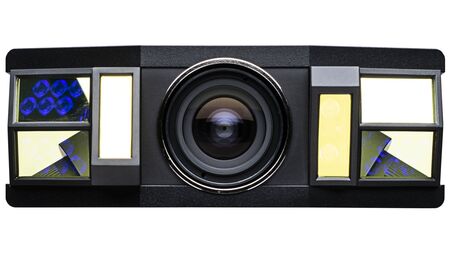
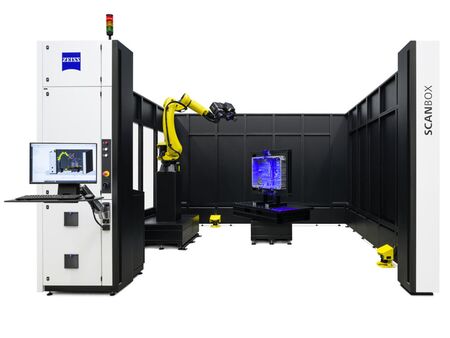
ATOS Plus is an add-on to the ATOS scanners, and is a combination of 3D scanning and photogrammetry. Using ATOS Plus a completely automated measurement process is obtained.
ZEISS ScanBox 5108 and the larger model ZEISS ScanBox 5120 handle measurement of parts up to 2000 mm and 500 kg.
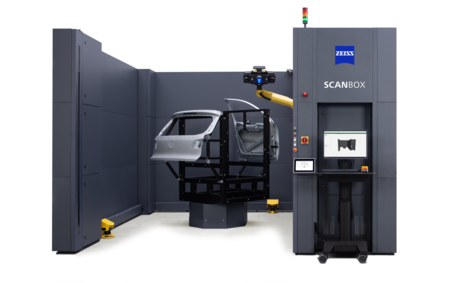
ATOS ScanBox 6135 og 6230 er velegnet til opmåling af store komponenter op til 3500 mm og 5000 kg.

