ATOS Q
Compact and versatile 3D scanner for fast part measurement
ATOS Q is a reliable and versatile 3D scanner that delivers fully traceable measurement results, even under harsh conditions. This makes it suitable for complex measurement and inspection tasks.
The 3D scanner from GOM is specifically developed for industrial use and is the perfect combination of design, technology, and performance.
ATOS Q is created with focus on practical use, high-speed measurement and high data quality.
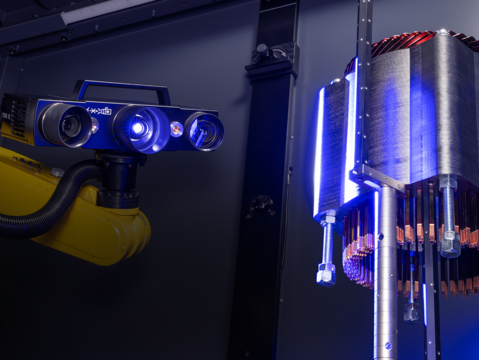
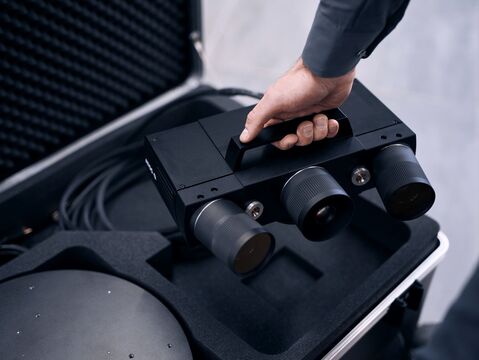
With its compact design and a weight of only 4 kg, ATOS Q can easily be moved. It is a robust system, which is both dust and splash proofed, thus making it ideally suited for measurement in both a measuring room and on the shop floor.
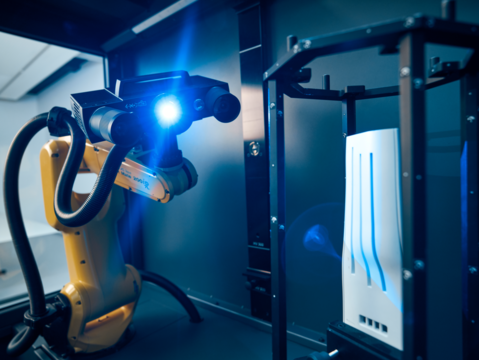
The lightweight scanner can be used with a tripod or stand but can also be configurated to a fully automated setup, where both scanning and reporting is done without operator involvement.
ATOS Q is a flexible and versatile 3D scanner perfect for many different industries and can be used for purposes, such as:
- Part verification and quality control
- Reverse engineering
- Documentation
As several of the other 3D scanners from GOM, the ATOS Q is using the technologies Triple Scan and Blue Light Technology. With interchangeable lenses, ATOS Q ensures high-precision measurements of small to medium-sized parts.

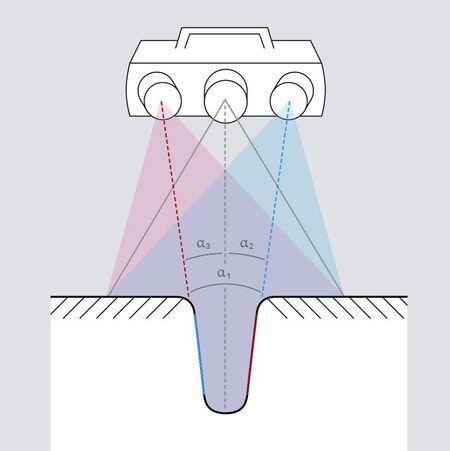
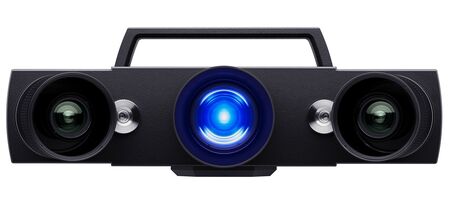
During scanning, a precise pattern of stripes is projected (fringe projection) on to the part's surface, and is detected by two cameras, calibrated in a stereo camera setup. Surface data is collected, where the camera rays intersect.
In this process, the projector in the middle is passive and only contributes by projecting stripes. By using Triple Scan Technology, the projector is used as a calibrated unit in the measurement. In this way it is possible to capture data by combining one camera with the projector unit.
The scanner thus collects data in the following ray intersections:
- Left camera / Right camera
- Left camera / Projector
- Right camera / Projector
Hence, the word Triple Scan Technology refers to the fact that three different methods are used for capturing data during the scanning process. As both cameras and projector are calibrated, all three elements are used to calculate the coordinates.
It is an advantage to use the Triple Scan Technology when scanning shiny parts, holes and complex geometries.
The projection unit in the ATOS scanner is based on Blue Light Technology, which means that the scanner projects light from a narrow-band blue frequency. Hereby, ambient light is filtered out during the scanning process and does not interfere during the measurement. The strong Blue Light source thereby result in an effecient and fast measurement.
Moreover, ATOS Q has an extra powerful LED light source, which results in high-speed scanning, even on uncooperative surfaces.
| ATOS Q | ||
|---|---|---|
| Measuring volume | MV50 - MV500 | |
| Camera pixels | 8M, 12M | |
| Point spacing | 0.03 mm - 0.15 mm | |
| Setup | Manual, Automated | |
| Light source | LED | |
| Changeable lenses | Yes | |
| Blue Light Technology | Yes | |
| Triple Scan Technology | Yes |
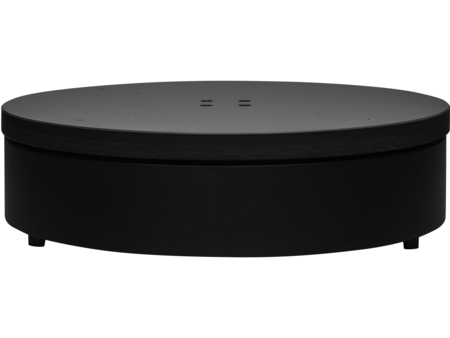
ROT 350 is an automated rotation table, which is used in connection with 3D scanning of smaller parts.
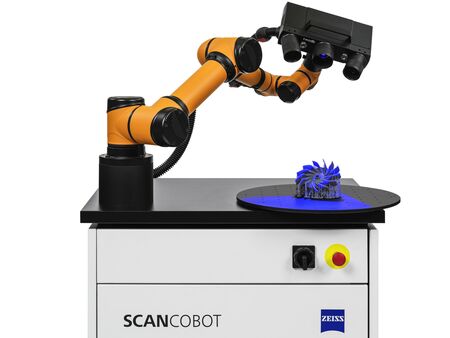
ZEISS ScanCobot is a cost-effective solution to get started with automated 3D scanning of parts up to 500 mm and 50 kg.
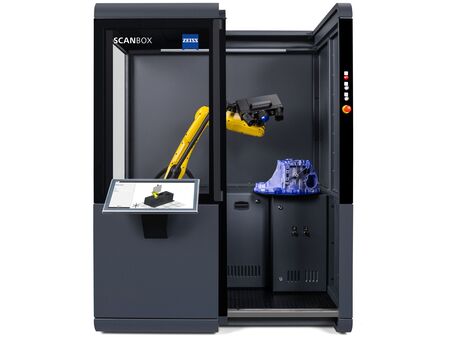
ATOS ScanBox 4105 is a fully automated metrology system, which is ideal for quality control of smaller parts up to 500 mm and 100 kg.
