Siemens Gamesa
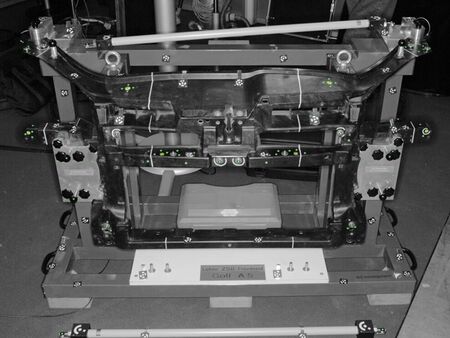
In a development project with Siemens Gamesa, Zebicon has optimized the wind turbine manufacturer’s measurement process of stators and flanges.
3D coordinate measurement can be performed with different technologies. Common for all methods are, that 3D coordinates are obtained from points, that have been predefined or chosen during the measurement process.
The traditional method for 3D coordinate measurement is tactile measurement with a coordinate measuring machine also called CMM. This type of machine requires a mounted plane of granite and a probe or a measuring arm to accomplish the measurement.
At Zebicon we offer part verification with photogrammetry (CMM), which is a flexible non-contact technology.
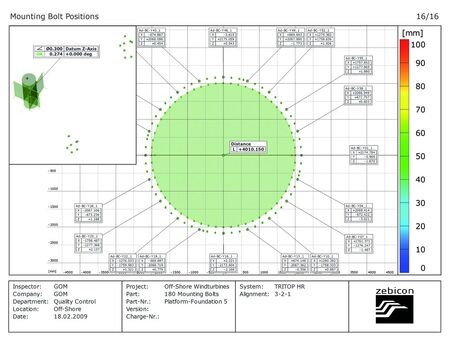
Carl Zeiss GOM Metrologys system for 3D coordinate measurement is called TRITOP, and is based on photogrammetry, that is, measurement by means of photographs. The technology defines exact 3D positions on markers and visible elements.
The system is mobile and can therefore be used for 3D measurement on-site, even under extreme conditions. Two certified scale bars ensure precision and traceability in the measurement.
TRITOP is used for:
In a development project with Siemens Gamesa, Zebicon has optimized the wind turbine manufacturer’s measurement process of stators and flanges.
For Vattenfall A/S, Zebicon has measured the distance between bolts on wind turbine platforms in Oresund to ensure that the towers fit exactly on the platforms.
Vestas Towers A/S wanted to have a 3D coordinate measurement of flanges on a tower section to clarify any loads during assembly.
At Zebicon we are specialists in 3D scanning and industrial measuring techniques. We offer services within 3D scanning and measuring, and sell optical metrology systems from the German company Carl Zeiss GOM Metrology.
With great know-how technically and professionally, we assist in choosing the right solution if you consider to buy your own metrology system. Zebicon ensures that the necessary training and education is provided, and we also deliver support afterwards.

By measuring with TRITOP CMM reference markers are placed on the object and the result of the measurement is XYZ coordinates in the positions where the markers were placed.
The measured coordinates can be used for dimensioning of the part geometry. Planes, cylinders, angles, radiuses etc. can be measured and the coordinates can be compared to CAD data.
By comparing to CAD, each single coordinate's deviation to the CAD part can be determined.
