Reduce cycle times with 3D scanning
Grundfos uses 3D scanning for development and quality control of parts
Grundfos A/S is one of the world's leading pump manufacturers, offering a wide range of pumps and water solutions for various applications, including residential, commercial, industrial and municipal sectors.
In the past, Grundfos used various measuring methods to perform quality control of its components and products, including tactile coordinate measuring machines. Today, the methods have expanded to include 3D scanning, which Grundfos uses across the organization and has been working strategically with since 2014.
The main reason Grundfos started looking into 3D scanning was because the technology made it possible to do a full surface scan of the company's parts.
With previous measurement methods, Grundfos found that specific parts, such as stamped parts, sheet metal parts and composite components, had deformations that they couldn't measure.
''With CMM machines we got very accurate measurements, but the cycle time was longer than with 3D scanning. If we wanted to approach a full surface scan, it took an extremely long time on larger parts. Therefore, we typically reduced reports and measurements, resulting in limited data on product quality" - Igor Zukan, Lead Engineer at Grundfos.
For this reason, Grundfos started exploring the possibilities of 3D scanning.
With 3D scanning, Grundfos was able to achieve a full surface measurement and thus obtain more data in less time. This means that Grundfos now has a better understanding of the quality of their products.
The process started in 2014, when Grundfos invested in their first 3D scanner. It was a high-end scanner in a manual setup to be used to measure prototypes, as well as new products and components in the development department.
When we saw the possibilities with the system and GOM subsequently developed new solutions, we realized that we could implement 3D scanning in production.
Over the next eight years, Grundfos has gradually implemented six measurement systems from Carl Zeiss GOM Metrology for multiple departments and sites. Equipment that includes manual 3D scanners, automated ScanBox solutions, and most recently a customized solution for inline measurement in production.
Throughout this process, Grundfos has had a steep learning curve. They started in the measurement lab testing which items they could 3D scan, what results came out of the measurements and how accurate the data could be.
Today, Grundfos creates all their measurement programs for new components in the measurement lab, which after a double check are transferred to production for ongoing quality control.
In some cases, 3D scanning is also used to check molding tools, which is also a check of machine parts and production machinery.
By using 3D scanning, Grundfos has experienced several benefits and results across the organization.
- Complete surface measurement of parts and tools has become possible
- More data has provided greater understanding of product quality
- Cycle time is reduced by an average of 50%
- Production costs have been reduced
- Adjustment of production equipment is completed faster
- Product quality has improved
3D scanning is a technology, which can create a digital 3D model of a physical part. The technology is primarily used for reverse engineering or quality control and part measurement.
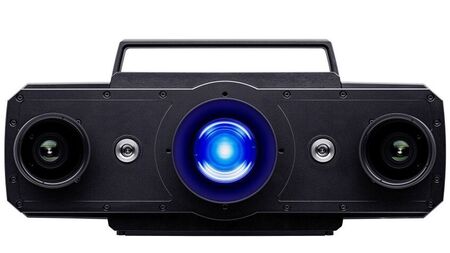
ATOS 5 is a high-end 3D scanner with a strong LED light source, which ensures high data accuracy for a variety of applications. Available for both manual and automated setup.
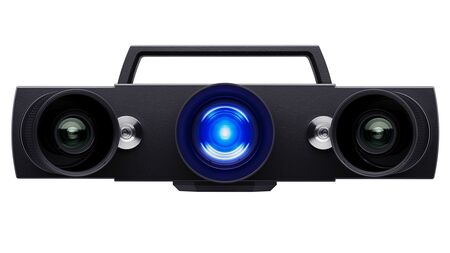
ATOS Q is a compact 3D scanner equipped with interchangeable lenses and a strong LED light source, which ensures high quality data. The scanner can be used in both a manual and automated setup.


